
A Cheap and Simple ADB to USB Converter
5 November 2021
A Pro Micro, a resistor, a mini-DIN connector and a tiny PCB to use my Apple keyboard on a modern Mac
Updates
- [April 2022] Added the tips from the 68kMLA forum thread at the end of this post.
I discovered the Apple Keyboard M0116 with my Mac SE/30 and I fell in love with it. The Control key is where it should be, next to the A. The Alps switches feel great, a bit noisy but not too much. And the style : the Apple font of the time on the keycaps, the little rainbow Apple logo in the corner… This keyboard is incredible, so I really wanted to use it every day on my modern Mac. And I have been doing so for more than a year now.
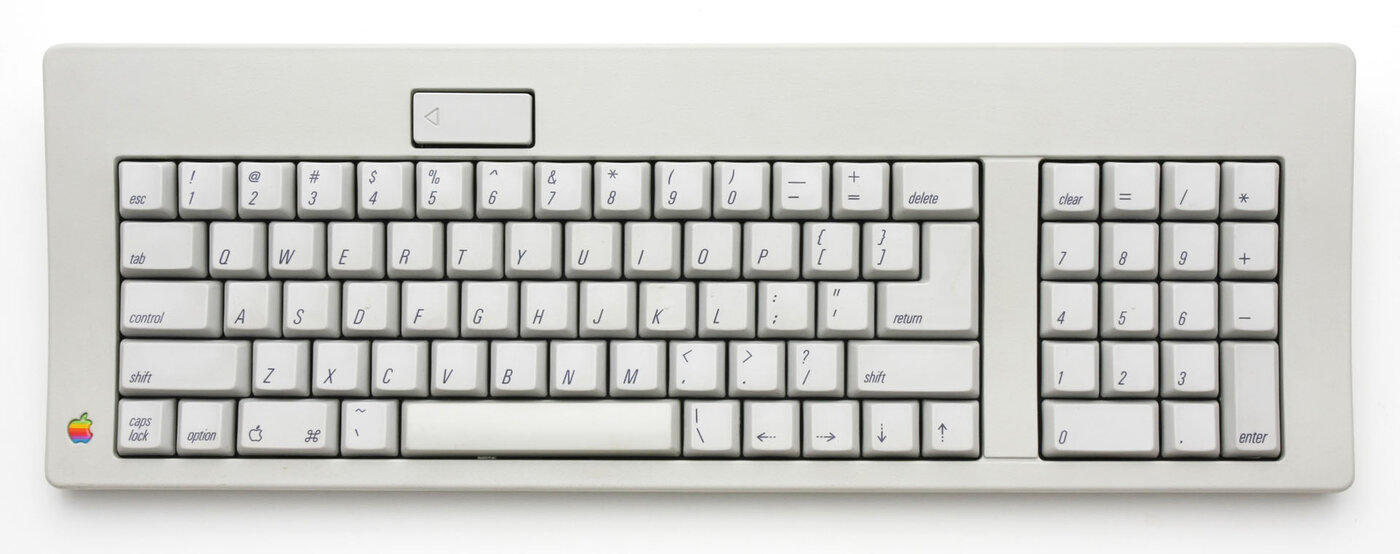 Photo : baku13, Wikimedia Commons, CC BY-SA 3.0
The only problem is that it speaks ADB, the bus Apple used before USB.
When I looked for an ADB to USB converter I was shocked by the price. Then I found out that QMK, the firmware a lot of people use on their DIY mechanical keyboards, supports ADB keyboards. All you need is a microcontroller with native USB like the ATmega32U4.
So I bought an Arduino Pro Micro, flashed it with QMK and I was good to go. Except that for more than a year I had three wires flying between the Pro Micro and the ADB connector, and they kept disconnecting. So I finally drew a small PCB to clean this up.
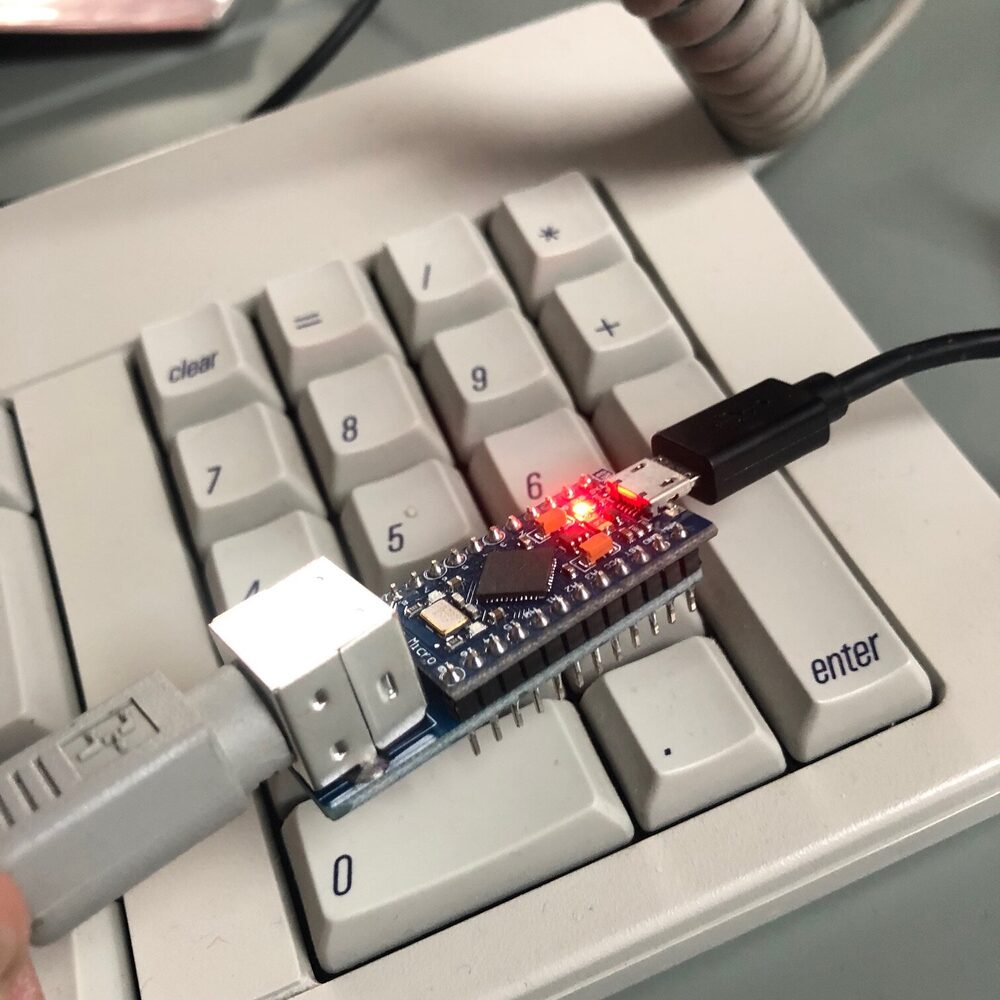
The board
There is not much on it : the footprint of the Pro Micro, a 4 pin mini-DIN connector for the ADB cable, and a resistor. The resistor is a pull-up on the ADB data line, anything between 1k and 10k works. Everything is through hole so anyone can solder it.
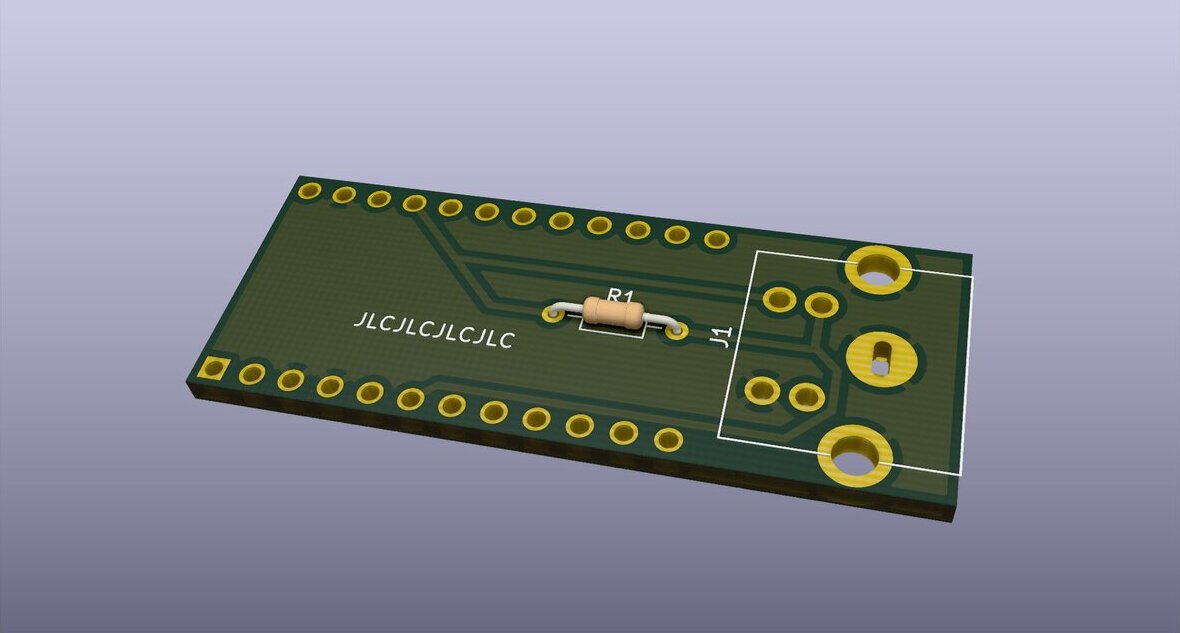
The ADB connector is a standard 4 pin mini-DIN, the same one used for S-Video, so it is easy to find.
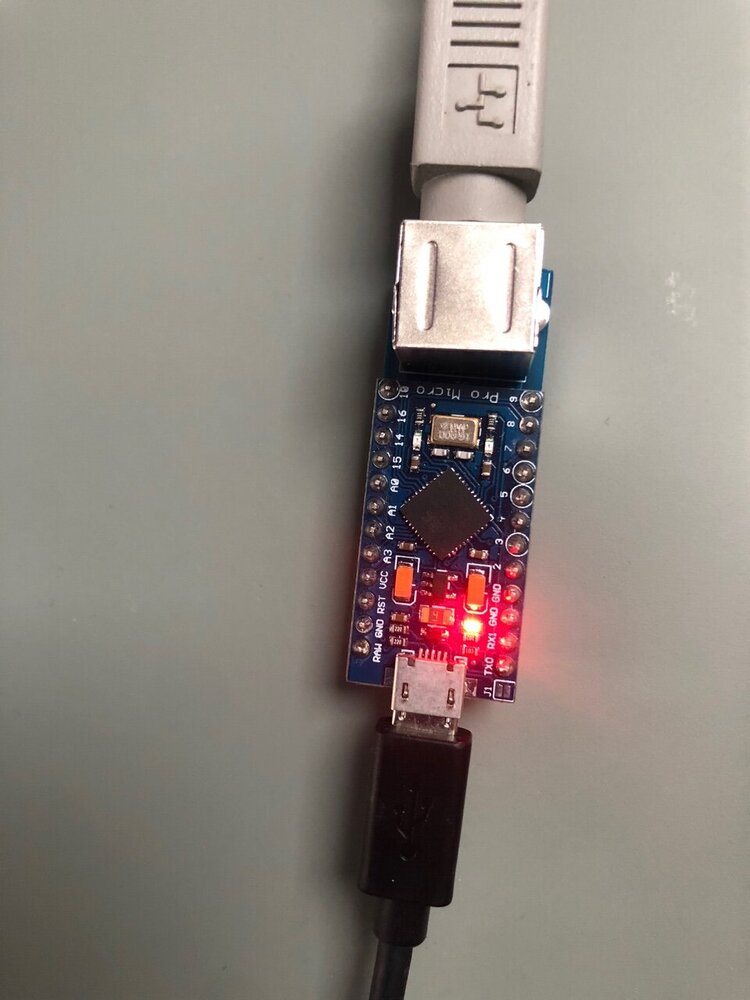
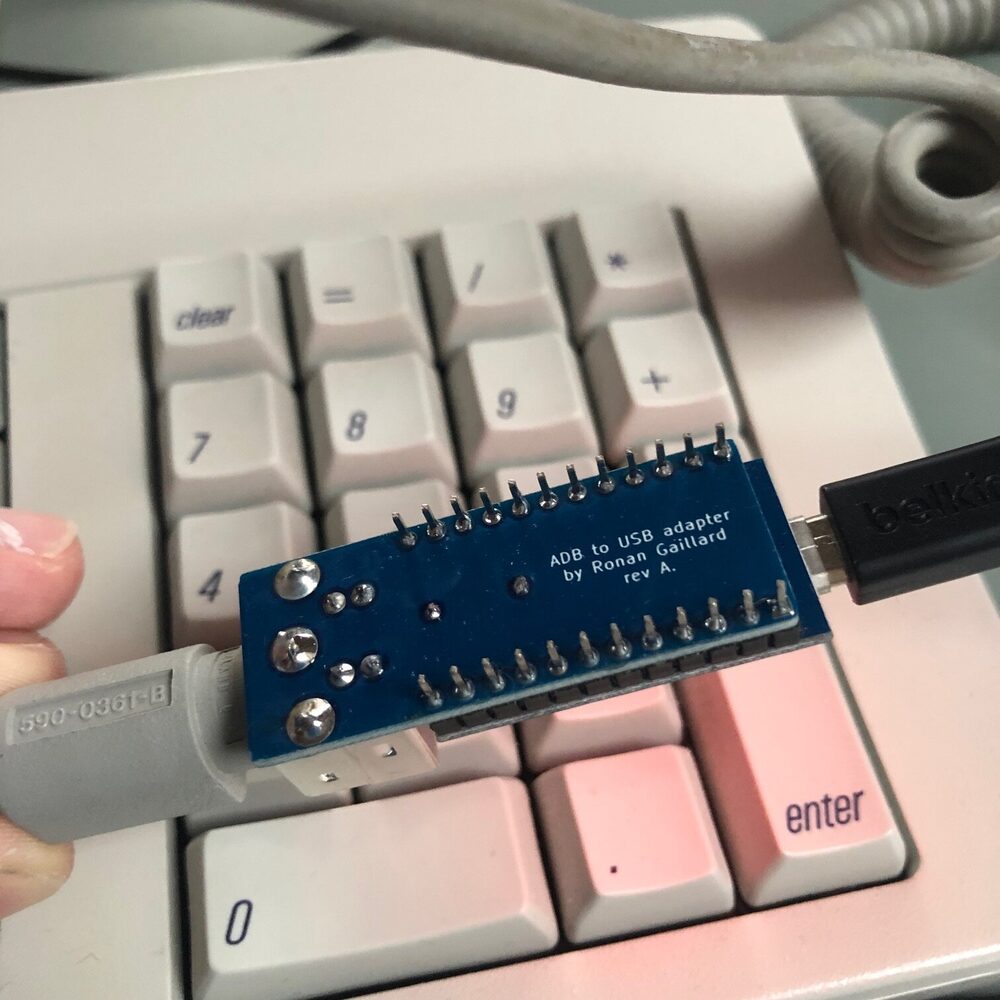
The KiCad files are on GitHub : ronangaillard/adb2usb. I ordered mine from JLCPCB, it was around 4.50$ for 5 boards shipping included. Add a Pro Micro (around 10$) and the converter costs a fraction of the commercial ones.
Flashing
The first time, you need to flash the DFU bootloader on the Pro Micro with an ISP programmer, following the QMK guide. Then on macOS install QMK :
brew install qmk/qmk/qmk
Build the firmware :
qmk compile -kb converter/adb_usb -km default
And flash it :
qmk flash -kb converter/adb_usb -km default
And you’re good to go !
A really cool thing with QMK is that you can change the key mapping very easily. For instance I remapped the Power key at the top of the keyboard to Play/Pause.
What happened next
I posted it on the 68kMLA forum and it got a lot more attention than I expected. People from the forum ordered boards, built converters and helped each other with the flashing. A few useful tips came out of the thread :
- any Pro Micro compatible board with an ATmega32U4 works, like the Elite-C. Boards with a USB-C port are a good idea since the micro USB port of the Pro Micro tends to rip off the board
- you can solder the Pro Micro on the underside of the PCB, so the board supports its USB port
- boards like the Elite-C already come with a bootloader that works with QMK Toolbox, no ISP programmer needed