Reverse Engineering the Epson FilmScan 200 for Classic Mac
How I wrote a SCSI driver from scratch to scan 35mm film on a Mac SE/30 running System 7
The Problem
I shoot and develop 35mm film at home. It’s a nice hobby, and I do my own prints in a small darkroom. But sometimes I want digital copies to share online or just to archive.
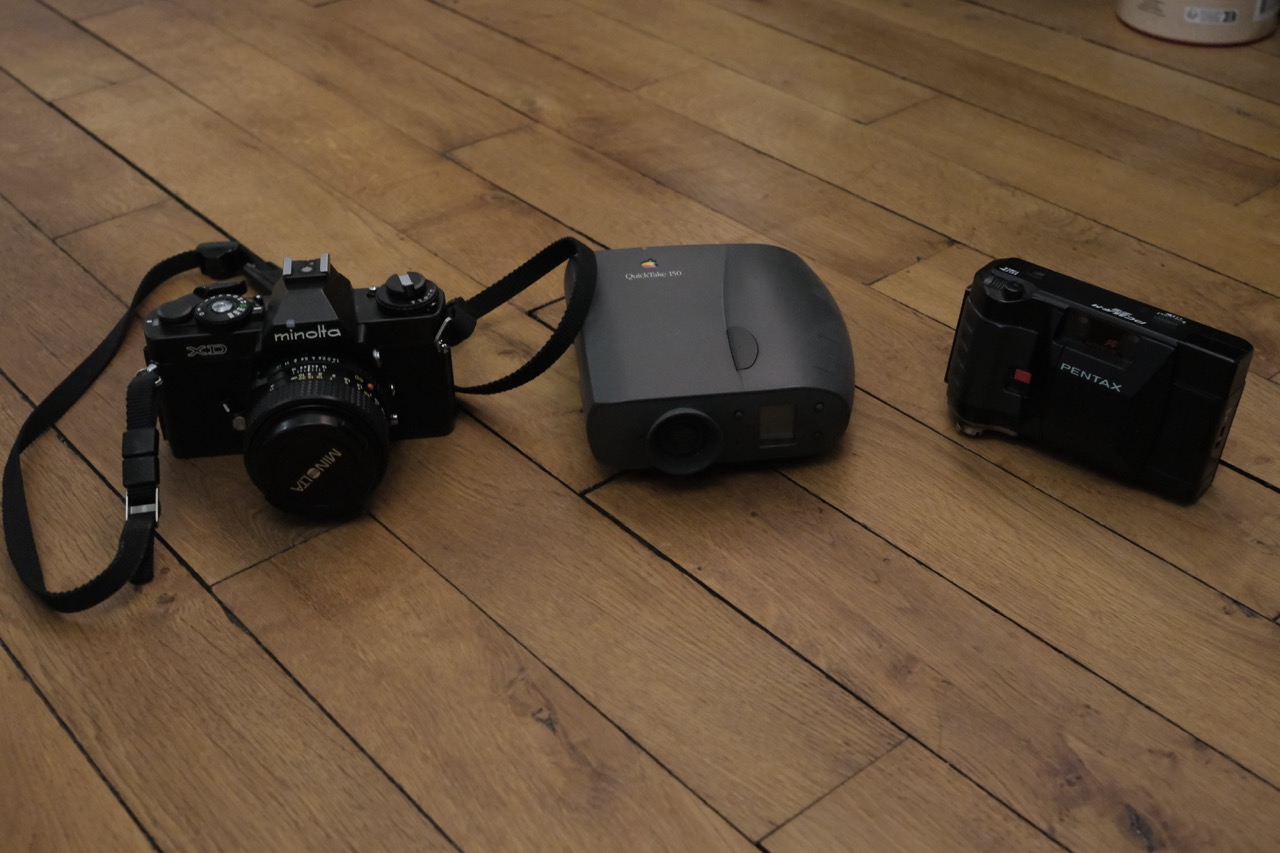
A while ago I found an Epson FilmScan 200 on leboncoin (the French Craigslist) for 10 euros. It’s a dedicated 35mm film scanner from 1997 that scans at 1200 DPI optical. At that price, worth a try.
The catch? This scanner only has a SCSI interface and the official drivers only work on Mac System 7/8 or Windows 95/98. My main machines are modern Macs. I could install a virtual machine, but SCSI passthrough is basically impossible. I could use a USB-to-SCSI adapter, but those are expensive and often don’t work well with scanners.
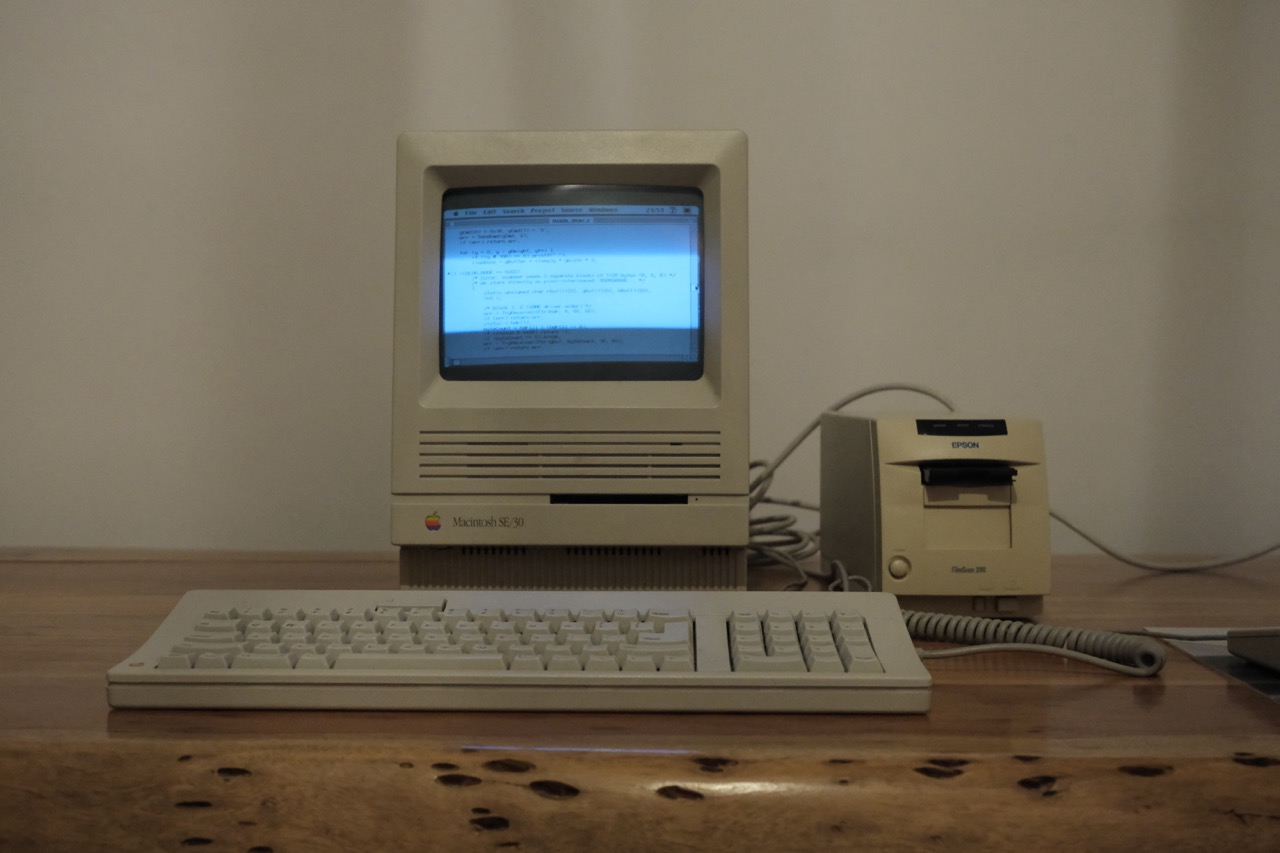
But wait. I have a Mac SE/30 sitting on my desk. The same one I brought back to life a few years ago. It has SCSI. It runs System 7. Could I scan directly on it?
The official Epson TWAIN driver exists, but it’s a complex plugin designed for Photoshop. I wanted something simpler: a standalone app that scans frames and saves them as files I can transfer via FTP.
Time to write my own driver.
Understanding the Hardware
The first step was understanding how this scanner actually works. I found a service manual PDF online, which gave me crucial information:
| Spec | Value |
|---|---|
| SCSI device type | “Processor” (0x03), not a standard scanner |
| Protocol | ESC/I commands encapsulated in SCSI SEND/RECEIVE |
| Resolution | Up to 1200 DPI optical |
| Frame size | 24x36mm = 1120x1680 pixels at max resolution |
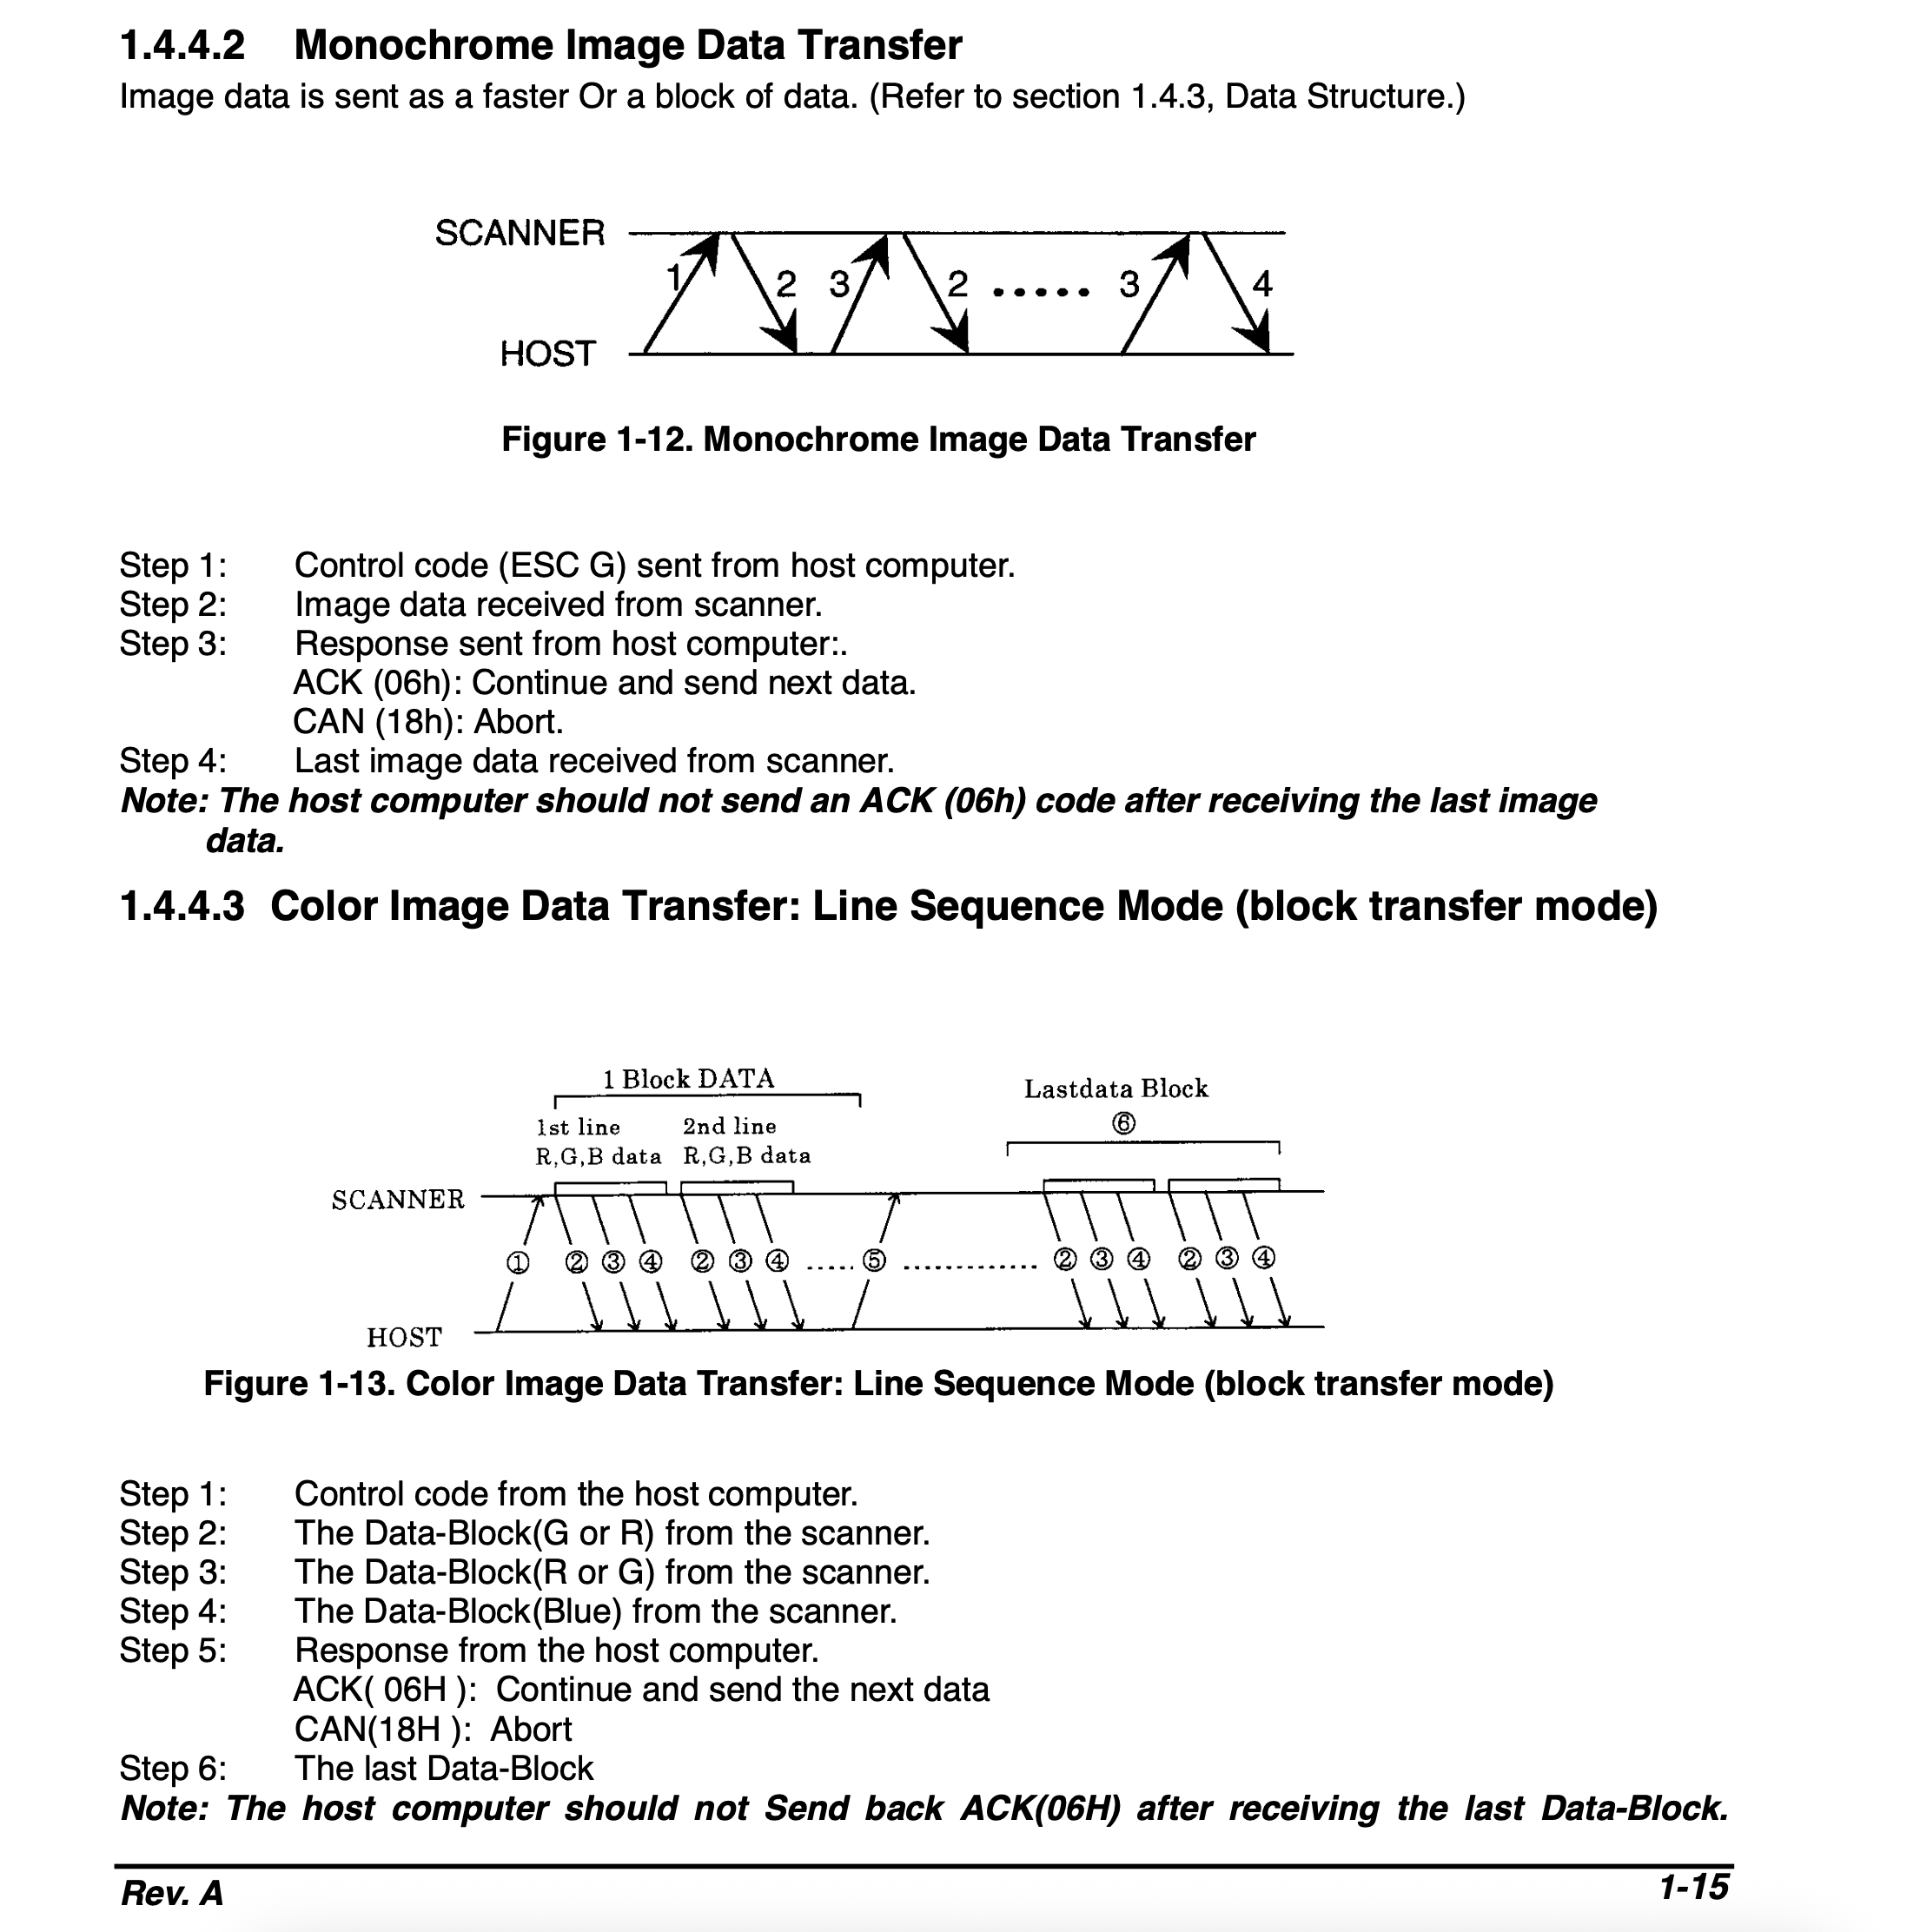
The “Processor” device type was interesting. Unlike standard SCSI scanners that use vendor-specific commands, this one uses generic SEND (0x0A) and RECEIVE (0x08) commands to exchange ESC/I protocol data. The ESC/I protocol is Epson’s standard scanner command language, same family as what their flatbed scanners use.
I was surprised by how technical the service manual is. It details SCSI timings, command sequences, data exchange formats… Did technicians really use this to repair people’s scanners back in the day? I guess they did. Either way, it gave me a solid foundation, even if it stayed a bit high-level and didn’t detail every command parameter.
I also extracted the original 68k driver from the Epson TWAIN plugin (a 748KB resource fork) and started disassembling it to understand the command flow. Why not just use SANE on Linux? Because SANE doesn’t actually support the FilmScan 200 out of the box. The mainline epson backend doesn’t include it. So I was on my own.
Setting Up the Development Environment
For development, I used THINK C 5.0 on the SE/30. Yes, I’m writing 68k code in 2025. There’s something satisfying about it.
The project setup is minimal. You just link against ANSI for printf/FILE functions and set partition size to 8MB (color scans need ~5.6MB buffer).
The SCSI Manager API on classic Mac OS is… interesting. You call SCSIGet() to acquire the bus, SCSISelect() to select a device, then SCSICmd(), SCSIRead()/SCSIWrite() with Transfer Instruction Blocks (TIBs), and finally SCSIComplete(). Every step can fail, and you need to handle cleanup properly.
First Success: Single Frame Scan
After a few evenings of coding, I got my first successful scan! The basic flow is:
SCSIGet / SCSISelect
SEND: ESC @ (Init)
RECEIVE: ACK (0x06)
SEND: ESC C + 0x00 (Set mono mode)
RECEIVE: ACK
SEND: ESC R + resolution (Set 1200 DPI)
RECEIVE: ACK
SEND: ESC A + area (Set scan area)
RECEIVE: ACK
SEND: ESC G (Start scan)
Loop: RECEIVE header + data, SEND ACK until done
Save as PGM file
The data comes back line by line, each with a 4-byte header containing status flags and byte count. You keep reading until the “end of data” status bit is set.
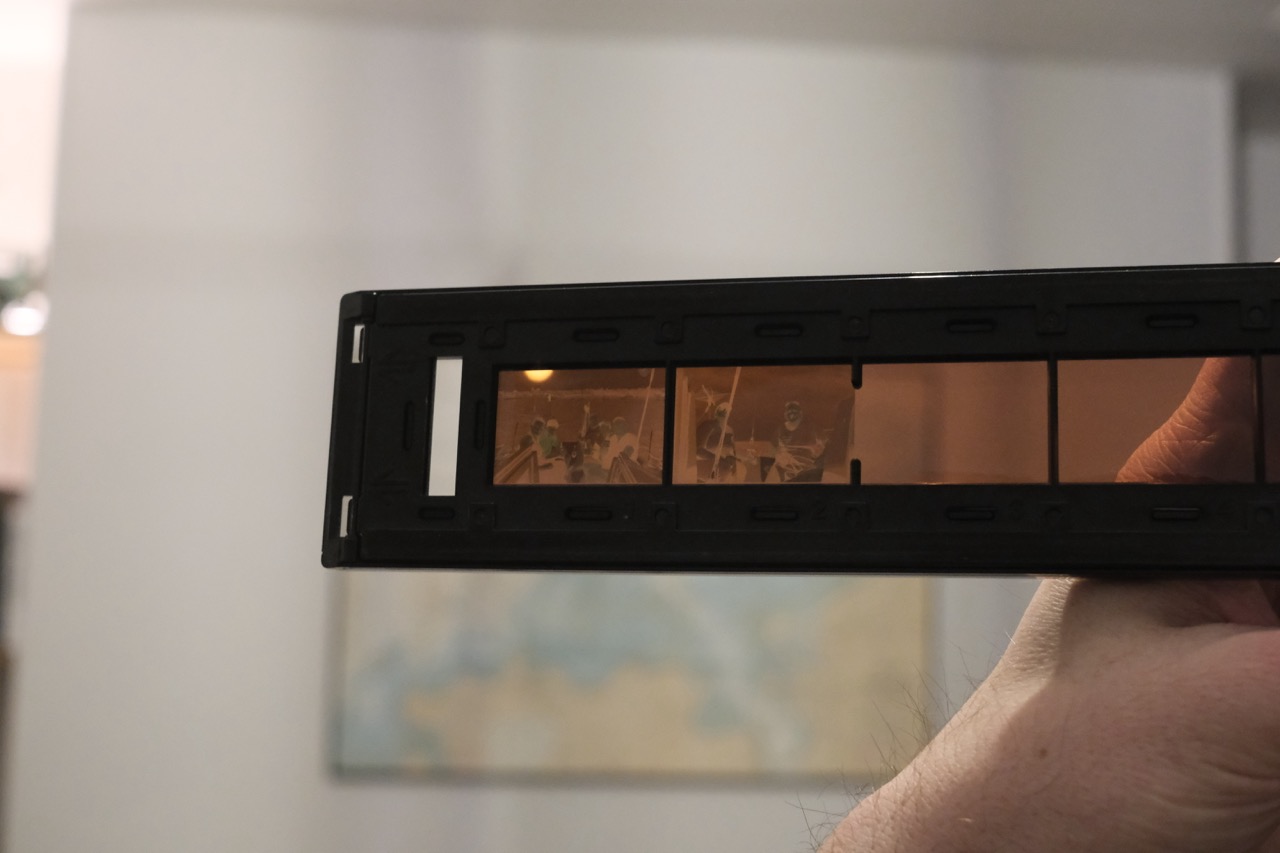
I saved the raw data as a PGM (Portable GrayMap) file, a dead simple format that’s just a header followed by raw pixel bytes. Preview on modern macOS opens them directly.

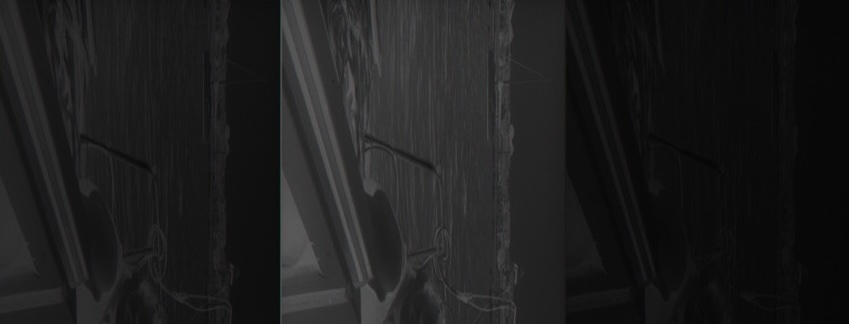
The scratches on the film? One of my first home developments. I had a hard time getting the film out of the reel. Image inverted with Filmvert for viewing.
The Frame Selection Problem
Here’s where things got frustrating. The FilmScan 200 has a 6-frame carrier. You load a strip of film and can scan frames 1 through 6. My first scan worked, but I couldn’t figure out how to select different frames.
The service manual mentioned an ESC P (SetBay) command with 2 parameter bytes. I tried everything:
[frame-1, 0]    what the disassembled 68k driver seemed to use
[frame, 0]
[0, frame]
[frame-1, frame-1]
Nothing worked. The scanner would just scan frame 1 every time, or worse, return an error.
I spent hours in the disassembler, tracing through the original driver. I found a function at offset 0x47080 that handled ESC P, and it seemed to use 0-indexed values. But when I replicated the exact sequence, it still didn’t work.
Then I noticed something odd: some commands in the driver called a function that checked for a handle called “OnionCommsRef” with magic bytes ‘Comm’. Without this handle, the commands were blocked on the driver side before even reaching the scanner. Was the ESC P format I found never actually used?
The Breakthrough: A Hidden Website
After much frustration, I stumbled upon a hidden gem: http://www.vjet.f2s.com/linux/scanner/download.html. This site, maintained by someone named Clive, contains a patched SANE driver specifically for the FilmScan 200. It’s not in the mainline SANE project, just sitting there on this old website that somehow still works in 2025.
I downloaded epson_17062002.c and started reading. And there it was, on line 2447:
simplecommand(SET_BAY, s, s->val[OPT_BAY]+1, s->val[OPT_BAY]+1);
The format is [frame, frame], both bytes identical, 1-indexed!
/* This is what works */
gCmd[0] = frame;  /* 1 for frame 1, 2 for frame 2, etc. */
gCmd[1] = frame;  /* same value repeated! */
I still don’t know why both bytes need to be the same. Maybe it’s a confirmation/validation thing. Maybe it’s a quirk of this specific scanner model. But it works!
Another tip from the SANE source (in a comment): “It wastes a lot of time on the filmscan moving the slide around if you send a reset every scan..” So you should only send ESC @ (Init) once at startup, not before each frame. This saves about 30 seconds of recalibration per frame.
Thank you Clive for writing this driver back in 2002, and thank you for keeping your website online all these years. It saved my project.
Adding Color Support
Mono scans were working great, but I wanted color. According to the documentation, you just set ESC C to 0x02 instead of 0x00.
Easy, right? Not quite.
My first color scan showed three columns side by side, each column was a grayscale version of the image. Classic sign of getting RGB data in the wrong format.
Each column is one color channel. Not quite what I was hoping for.
After more digging in the SANE driver, I found that in color mode, the scanner sends 3 separate data blocks per line, one for each color channel. And they come in G, R, B order (not RGB!).
For each scan line:
  RECEIVE: header + G data (1120 bytes)
  SEND: ACK
  RECEIVE: header + R data (1120 bytes)
  SEND: ACK
  RECEIVE: header + B data (1120 bytes)
  SEND: ACK (unless end of frame)
I had to buffer each color channel separately, then merge them into interleaved RGB for the output file:
for (i = 0; i < width; i++) {
    output[i * 3]     = rBuf[i];
    output[i * 3 + 1] = gBuf[i];
    output[i * 3 + 2] = bBuf[i];
}
The first version came out way too green because I had G and R swapped. Once I got the order right, beautiful color scans!


Quick inversion with Filmvert. The colors aren’t perfect, but it’s just for preview. You can always fine-tune later manually or with something like Negative Lab Pro.
The Final Result
The finished driver is about 450 lines of C code. It initializes the scanner once at startup, lets you specify a folder name and starting pose number, scans 1 to 6 frames in a batch, saves as PPM (color) or PGM (mono) files, and asks if you want to continue with more frames.
A full 6-frame color scan at 1200 DPI takes about 10 minutes on the SE/30. Not fast, but not bad for a 35-year-old computer talking to a 27-year-old scanner.
To get the files off the SE/30, I run a Python FTP server on my modern Mac and use Fetch on the SE/30 to upload. Works great.
And honestly? There’s something nice about this whole setup. Shooting film, developing it myself, then scanning on hardware from the same era. Staying in the 90s, before the digital revolution took over. Full nostalgia, and I love it.
Lessons Learned
Old hardware documentation is gold. The service manual and SANE source code were essential. Without them, I’d still be guessing at protocol details.
Disassembly isn’t always the answer. I spent hours in the 68k disassembler when the SANE source had all the answers in readable C.
Don’t trust 0-indexed vs 1-indexed assumptions. The frame numbering mismatch cost me a whole evening of debugging.
Old computers are still useful. My SE/30 now has a real job: digitizing my negatives.
The code is available on GitHub: fs200-classic-mac
Now if you’ll excuse me, I have about 50 rolls of film to scan…